
Manage Images
Till now we have instructed you to navigate using the Dashboard or the main screen, but there is a menu on the left, which you of course you might have noticed. This time we will navigate from our current section to next section, which is images. So click on the Images from the left navigation to see the list of images.
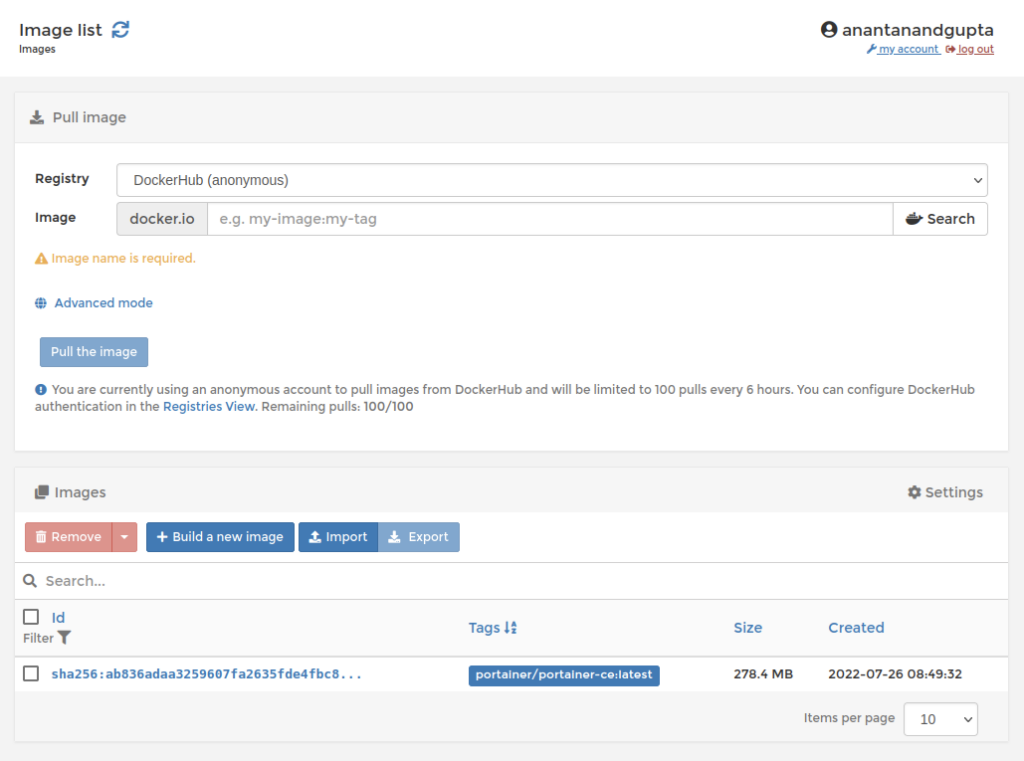
There are 2 sections in this page, Pull image and Images. First section let you search images from the configured registries. I entered the value in the image field as “hello-world” clicked on the button labeled as search. It will open a new tab in the browser and show the search result page of the repository.
If you know the exact name of the image, you can just enter that in the same field and press “Pull the image” button. This time I entered the same name “hello-world”, but pressed the button to pull the image. If the image is successfully downloaded you can see the list updated with the same.
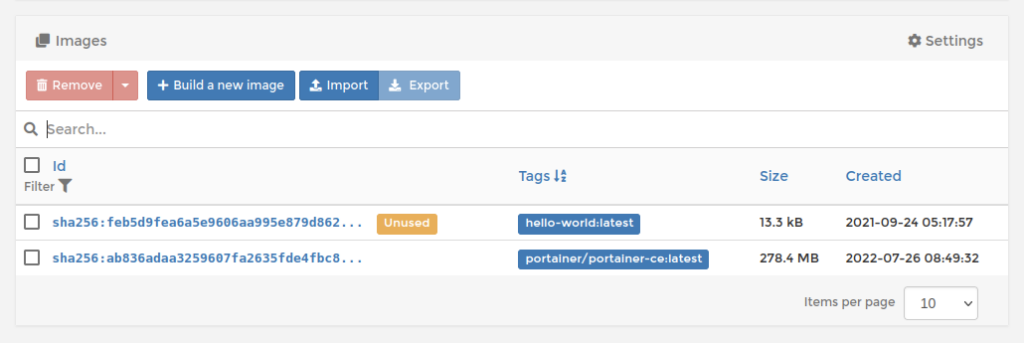
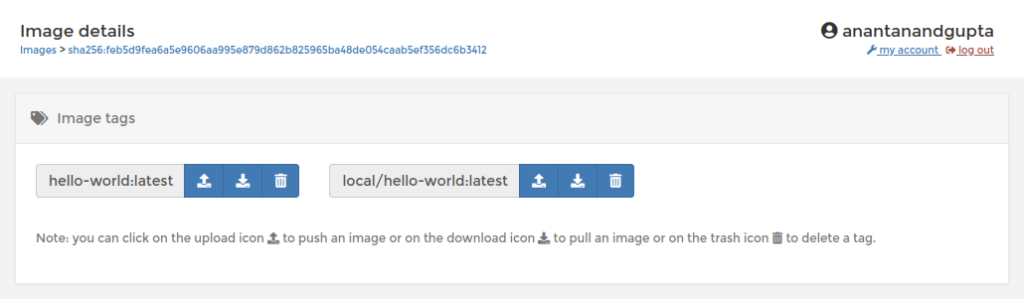
The new newly pulled image can be seens listed in there as unused. Let’s select the image id which we have recently downloaded and see the details of the image. On this screen there are many sections. For the scope of this post i will be focusing on the Tag the image section.
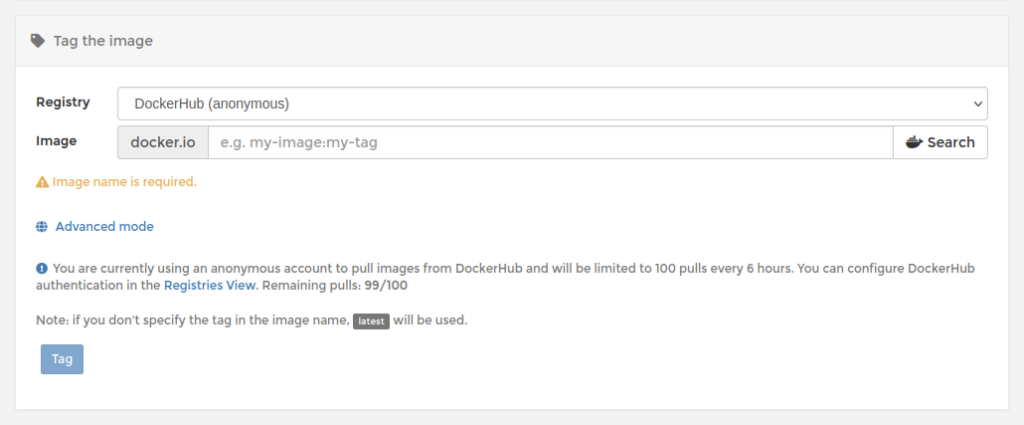
Select the advance mode link in there and enter the value “local/hello-world” in the image field as show below. Press the Tag button to add a new local Tag on the image. this tag can be used when we create a new container (there is no harm in using the pulled tag too).
in the next section we will use the images we have on the docker instance, locally downloaded. in case the image is not locally downloaded and it is part of some repository, this tool will be able to pull the same at the time of container creation. In the next section you will be able to see how we can create / manage containers using portainer.