
A step by step tutorial on how to use AngularJS with ASP.Net MVC
Precap
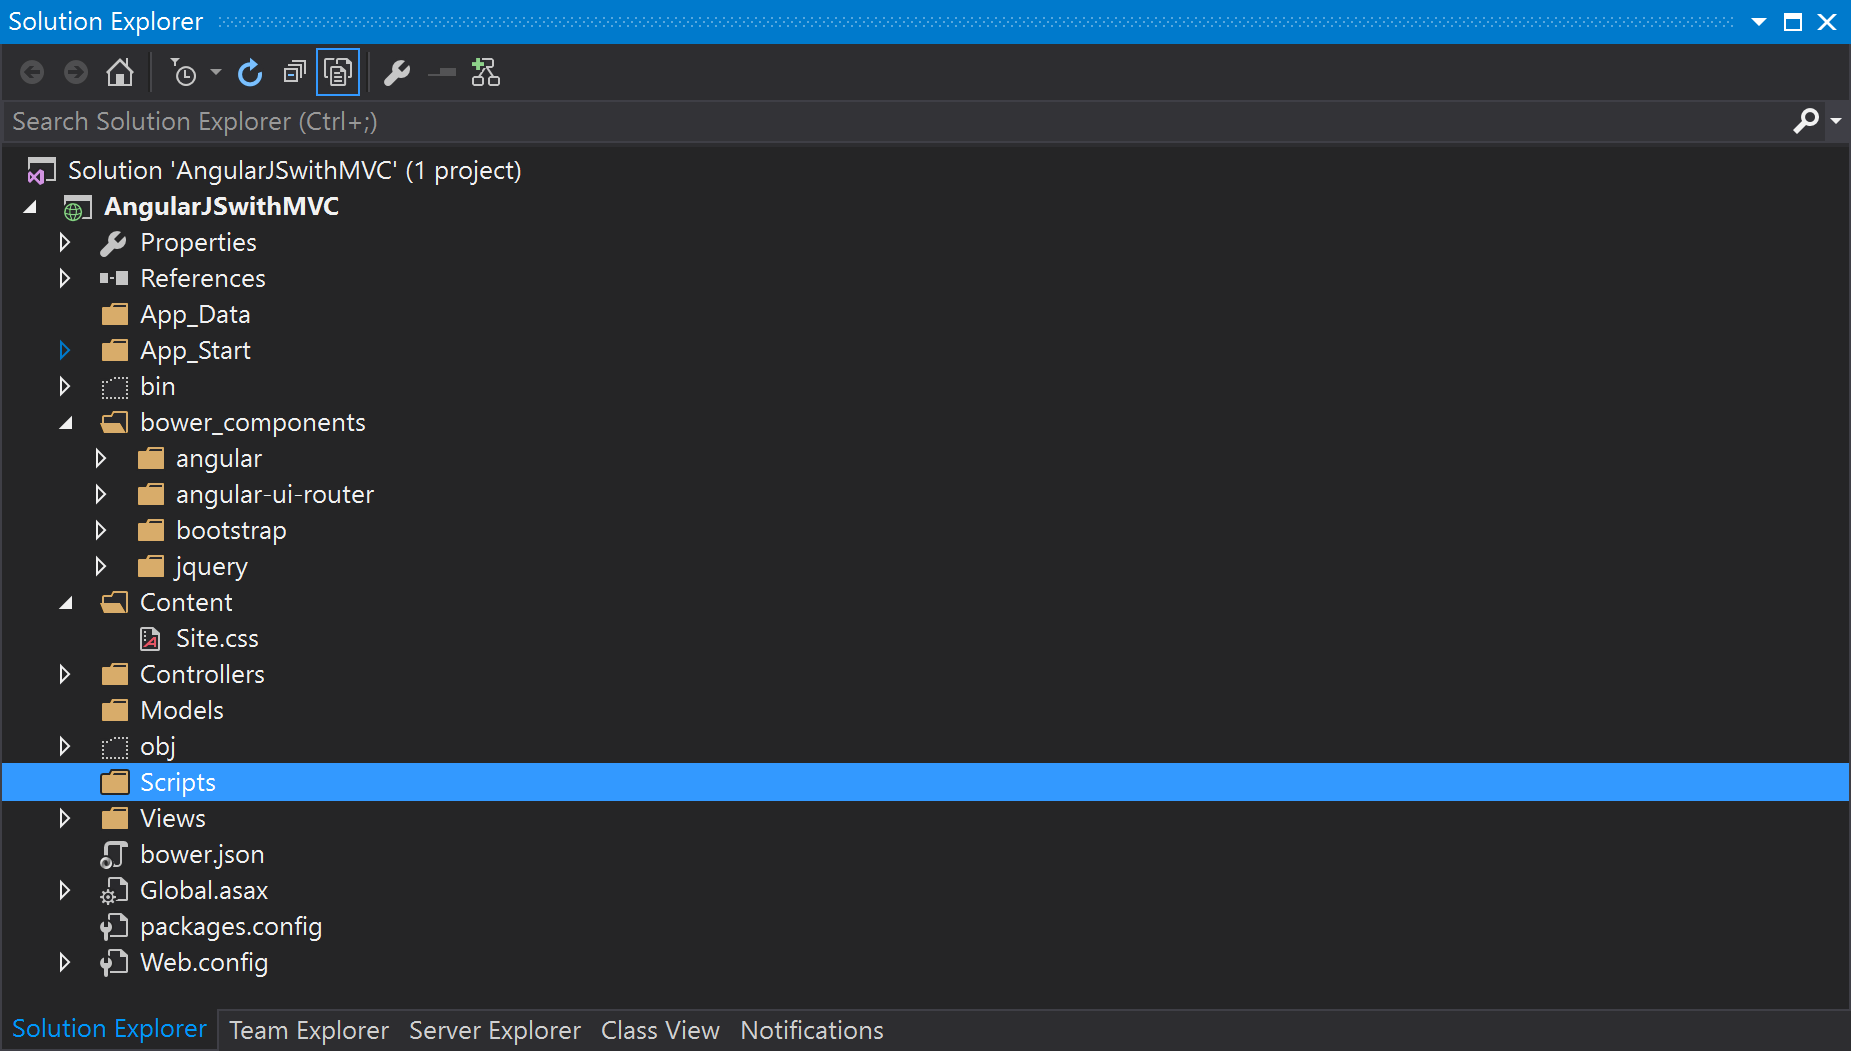
I have started this as a multi-post tutorial a few posts back. In the previous parts we have created a minimal project in Visual Studio 2015 using Web Application’s Empty template with MVC folders and references. The application is running now with the bootstrapped UI containing a navigation of 3 pages. It has been demonstrated how differently application behaves with MVC routing and AngularJS routing. You can read those posts part 1, part 2, part 3, part 4, part 5 and part 6 in case you have not gone through that already. Let’s move to next step where we will be replacing the AngularJS routing with ui-router’s states.
Why ui-router?
It is very easy to explain the benefits of using ui-router over angular-route with an example in hand rather telling each and every aspect of the comparison. Moreover to teach AngularJS and its features is beyond the scope of this series. So let’s begin with replacing the angular-route with ui-router.
First Thing First
In the Index.cshtml we have a div tag with ng-view atribute, which we have to replace with ui-view. This works as the placeholder for the views to be rendered by the ui-router states. Once you update, your Index.cshtml should look similar to this snippet now.
<div ui-view></div>
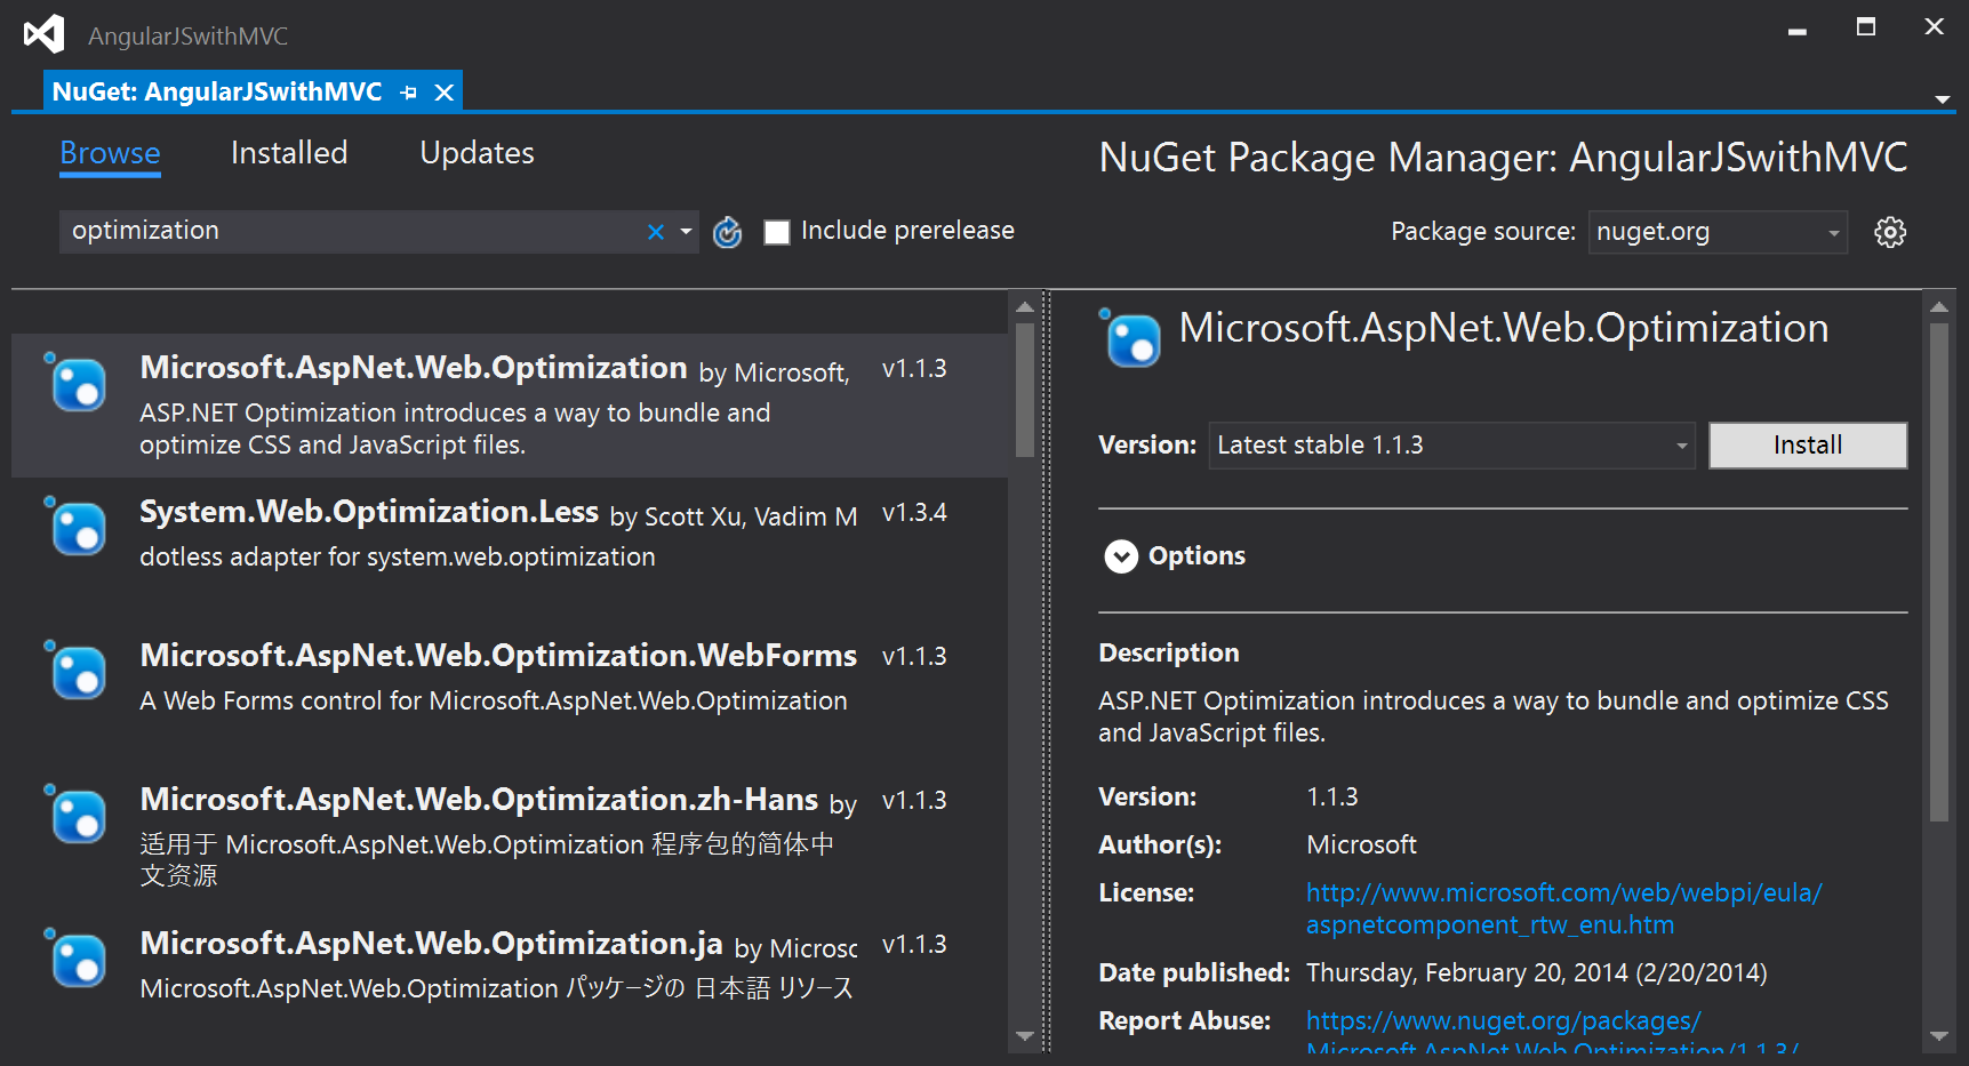
In part 3 of our guide we have already included the required libraries in the project, so we are not looking that direction. So, now we can replace the ngRoute module with ui.router in the app module. Open the app.module.js and update the file as show in the snippet below.
(function () {
    'use strict';

    angular.module('app', ['ui.router']);
})();
Define ui-router States
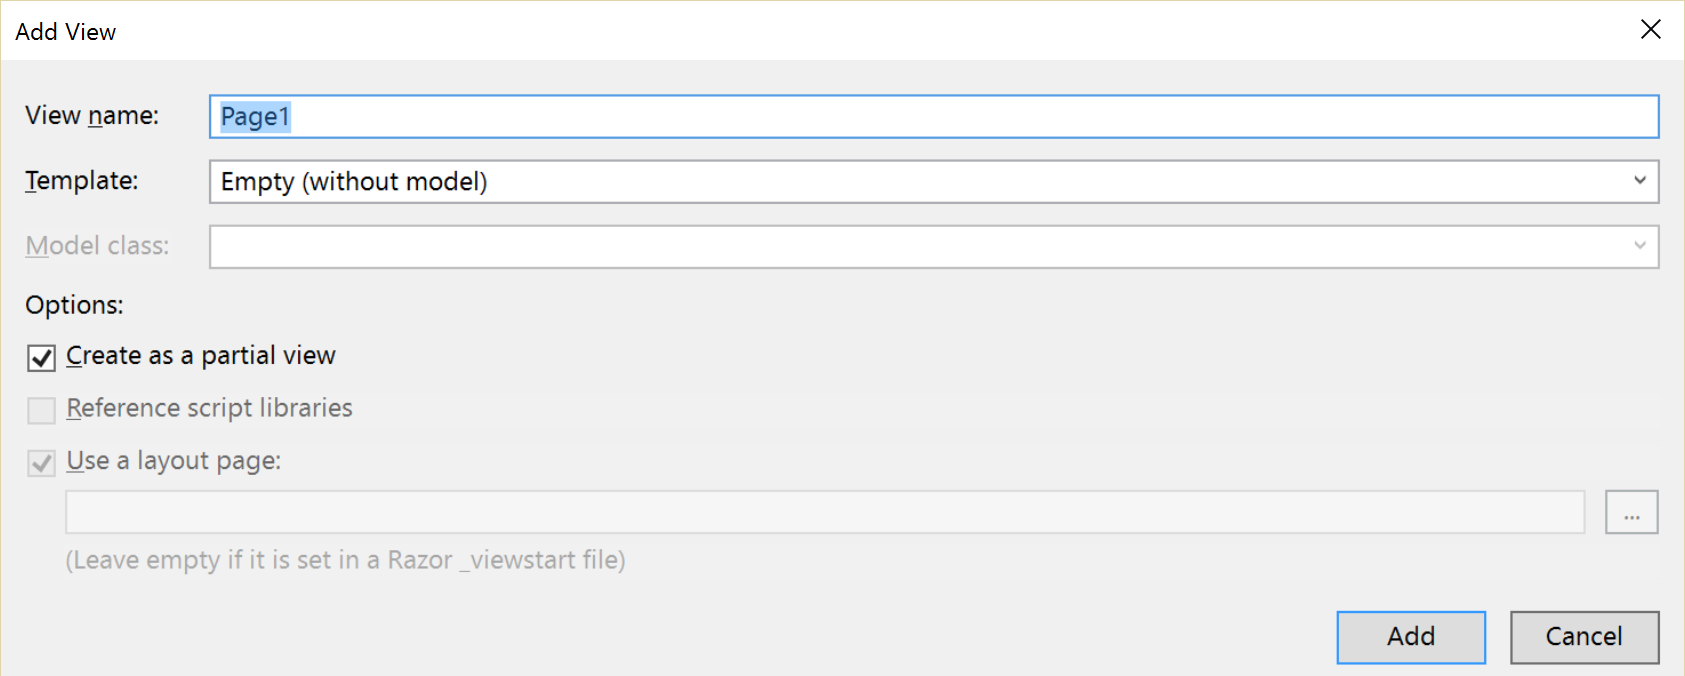
We have already defined the angular routes in app.config.js file in part 6 of this series, which we will be removing. Now create a new file named app.route.js adjacent to the app.config.js and paste the code from the below snippet in there.
(function () {
    'use strict';

    angular.module('app')
        .config(['$stateProvider', '$urlRouterProvider', function ($stateProvider, $urlRouterProvider) {
            $urlRouterProvider.otherwise('/');
            $stateProvider
                .state('home', {
                    url: '/',
                    templateUrl: '/Home/Home'
                })
                .state('page1', {
                    url: '/Page1',
                    templateUrl: '/Home/Page1'
                })
                .state('page2', {
                    url: '/Page2',
                    templateUrl: '/Home/Page2'
                })
                .state('page3', {
                    url: '/Page3',
                    templateUrl: '/Home/Page3'
                });
        }]);
})();
Also, remember to include this new file in the BundleConfig.cs. Update your app.config.js file as below.
(function () {
    'use strict';

    angular.module('app')
        .config(['$locationProvider', function ($locationProvider) {
            $locationProvider.hashPrefix('');
        }]);
})();
Run the application and you will find no difference at all in the behavior of the application. this shows that the angular-route can be directly replaced by the ui-router without deviating from the applications functionality.

We will be extending this simple application to a more meaning for application which will be demonstrating more aspects of the ui-router and how the MVC views can be used as templates for different parts of the same view. yes that’s the one of most powerful feature of the ui-router, render multiple view templates in the same page. But this is the topic of our next post.
I am hoping that you might have got a gist of the concept of using AngularJS with MVC, but there are more to come, so wait for the next post and leave your comments in case you have any questions till now. I will really appreciate your feedback so that I can improve my content and help you all in a right way while producing more accurate articles.
Cheers!
Series Links
Part 1 Part 2 Part 3 Part 4 Part 5 Part 6 Part 8 Part 9 Part 10 Part 11