
Manage Networks
Select Networks from the list of options on the Dashboard. You will see that the network we created (learn-docker) during our initial preparation is listed there with other built-in docker networks.
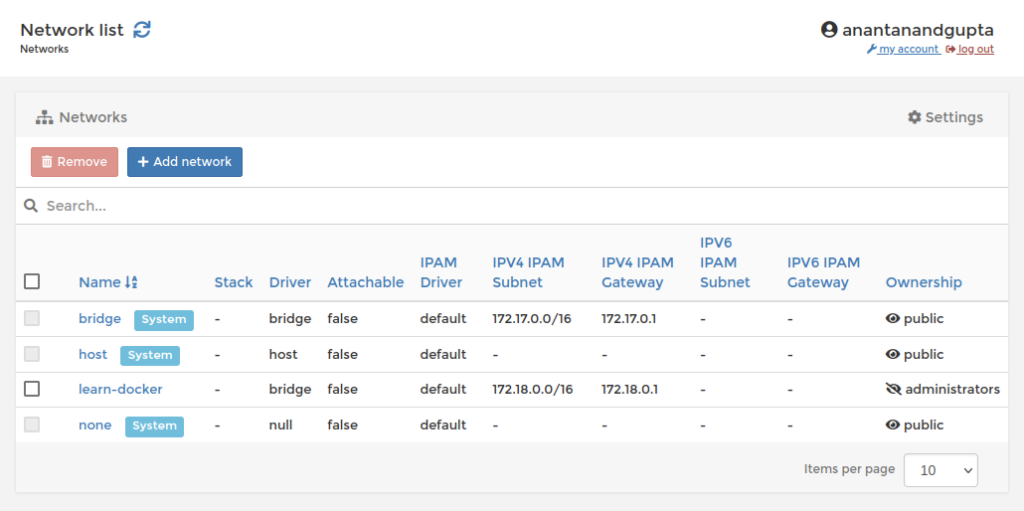
Select that network to see the details of that network. The only options you have to manage a network is to add or remove a network. In the details screen you will see the Subnet, Gateway and driver (bridge) of this network.
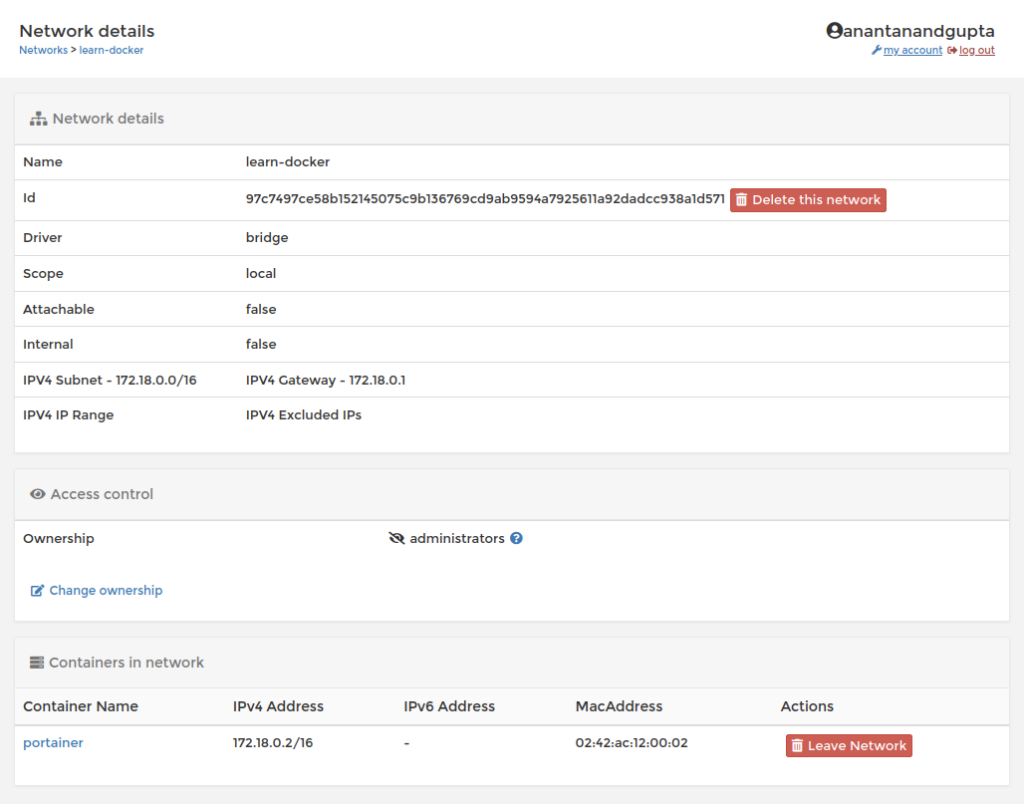
At to bottom of the screen you will see that only one container which is port of the network is our portainer and assigned IP is 172.180.0.2, which is the first available IP in the range. During this section we will see how we can create a new bridge network using portainer. Since this post is all about the basics of portainer and not about docker, we will not be covering up all the types of networks here. Let’s create a new network.
From the network list screen select Add Network to navigate to the create network screen
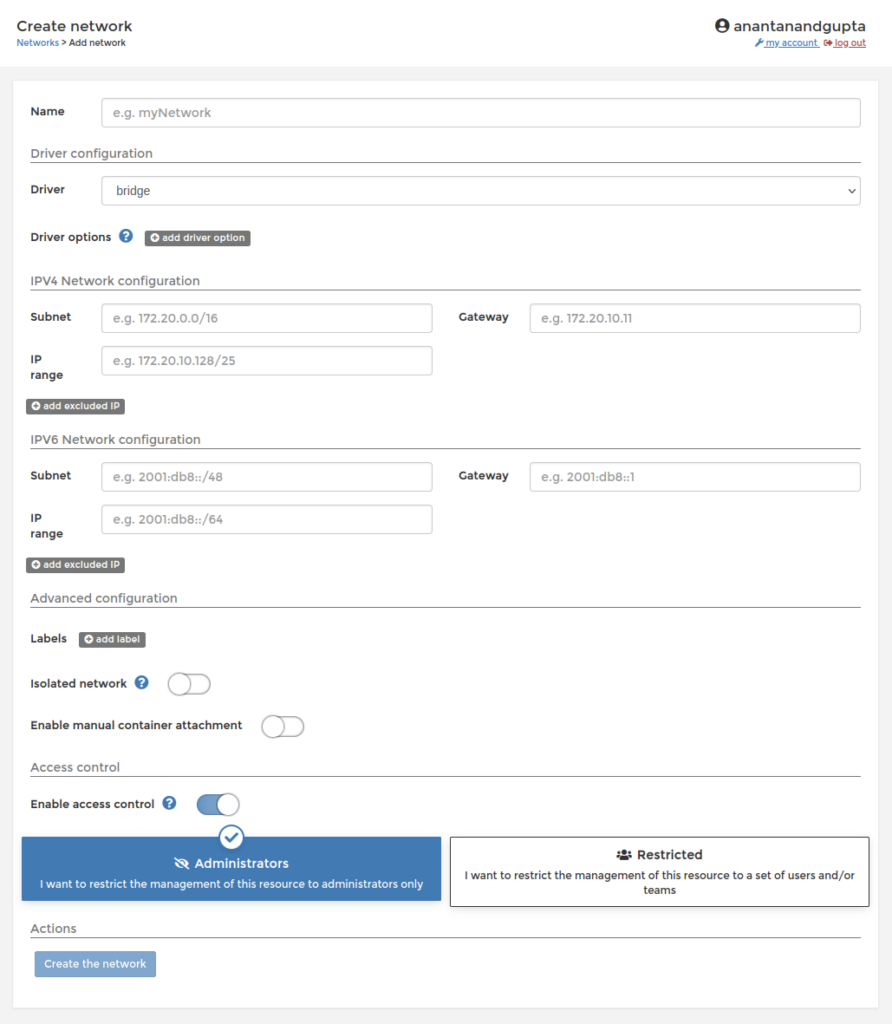
provide the below information in the respective fields and click on the button at the bottom with label ‘Create the network’.
Name: main-net
Driver: bridge
IPV4 Subnet (Optional): 172.20.0.0/16
IPV4 Gateway (Optional): 172.20.0.1
IPV4 IP range (Optional): 172.20.0.0/24
This should have created a new network and visible in the network list screen. We will learn how to use this network and switch / join the containers to this network in the sections below. now you can see that it becomes much easier for us to use the portainer. Especially in cases where the shell access to the docker host is restricted and is behind the firewalls.