Setup Docker Desktop on Ubuntu for Beginners

Ubuntu is a versatile Operating System and when I started using it, I started needing it everywhere. I had windows in past and now I have Intel based macbook, but I always had a VM with Ubuntu. There are many things I would like to still do in Ubuntu, like setting up servers and clusters. Today when we talk about the docker setup, we will be talking about the same Ubuntu. For this post I will be using the Ubuntu VM setup in a VM hosted by VMWare Fusion. I will be using the current LTS version (22.04) of Ubuntu Desktop (this makes it possible to capture few screenshots for this post).

Prerequisite: VM Setup

In case you are interested in knowing how to setup a VM in fusion, you can search youtube (I will put some tutorial links here from my content as and when they are ready). For now you can read / watch my old post / video here, which is based on the Microsoft Windows edition of VMWare Workstation. In case you have a server host linke GCP, Azure, AWS or Linode you can create a VM there too, the choice is yours. The only thing you have to remember that if you are opting for the VM route, you will need to enable virtualization in the VM setting.

About Docker

If you guy are here then I am sure that you have a very basic idea about docker or have seen or heard someone talking about this. I am sure you are are amazed with their talks and are definitely interested in learning more about that. I am not going to touch in detail about docker in this post, but promise you that I will be posting more about Docker in future. For know, just understand in plan English that docker is a software which has the capability of running your applications in an isolation from the rest of the system (know as containers). It seems and behaves like tiny vm only but it is sharing the underlying infrastructure. In simple words it doesn’t virtualize the hardware at all.

Linux and Docker

These 2 systems walks hand in hand. Take Ubuntu (Linux) as host to run Docker to run containers which are based on linux based (though there are images of other OS too), images. I am sure there will be people coming back at me on the above statement, but believe me that the most beautiful marriage in the world ever. In case of server environments there are 2 major players (as host for docker), Windows and Linux. We will also be using this docker setup in future posts to set up various things and learn more. So, let’s get started.

Setup

By this point I am sure you already have an Ubuntu machine running somewhere (VM, Laptop, Cloud / Datacenter) and have been patiently waiting on the text above. So I will not waste anymore time of yours.

First thing First – Update

As a ubuntu user, I always prefer to run apt update before any software installation, which impacts the system. So open the terminal (press ctrl + alt + t)

$ sudo apt update

Start Setup

Now before we proceed, I need to tell you that I will be setting up a Docker Desktop edition, which comes with some ui to interact with (and take a few screenshots for this post). There is another variant which is generally used on the servers and have no UI (portainer a nice tool to know in case of docker setup on headless servers).

To get the docker desktop headover to the docker official website here. You will see the instructions over there and try to follow them here. In the beginning there are some instructions to remove the older version of docker engine in case you already have the installed (as innocent mistake while trying to figure out the length and breadth of docker by following some older posts / videos). You can skip those steps as in our case we have a fresh installation of the operating system (I am assuming). Since we have already updated the system we can directly run the below command in your terminal.

$ sudo apt install ca-certificates curl gnupg lsb-release

The above command will install some the required packages (don’t worry, in case you know that some these packages are already installed on your system). No create a foder for the keyrings as follows (again don’t worry in case you already have the folder on your machine).

$ sudo mkdir -p /etc/apt/keyrings

now get the GPG in that folder by executing the below command.

$ curl -fsSL https://download.docker.com/linux/ubuntu/gpg | sudo gpg --dearmor -o /etc/apt/keyrings/docker.gpg

Now it is the time to setup the repository using the command below

$ echo \
  "deb [arch=$(dpkg --print-architecture) signed-by=/etc/apt/keyrings/docker.gpg] https://download.docker.com/linux/ubuntu \
  $(lsb_release -cs) stable" | sudo tee /etc/apt/sources.list.d/docker.list > /dev/null

You are ready at this point to download and install Docker Desktop. But since we did some system changes like adding a new repository, we are required to run the apt update again. Remember that it may all fail if the above step is ignored or missed.

last command in preparation is as flows

$ sudo apt-get install docker-ce docker-ce-cli containerd.io docker-compose-plugin

Download the latest version of the Docker Desktop

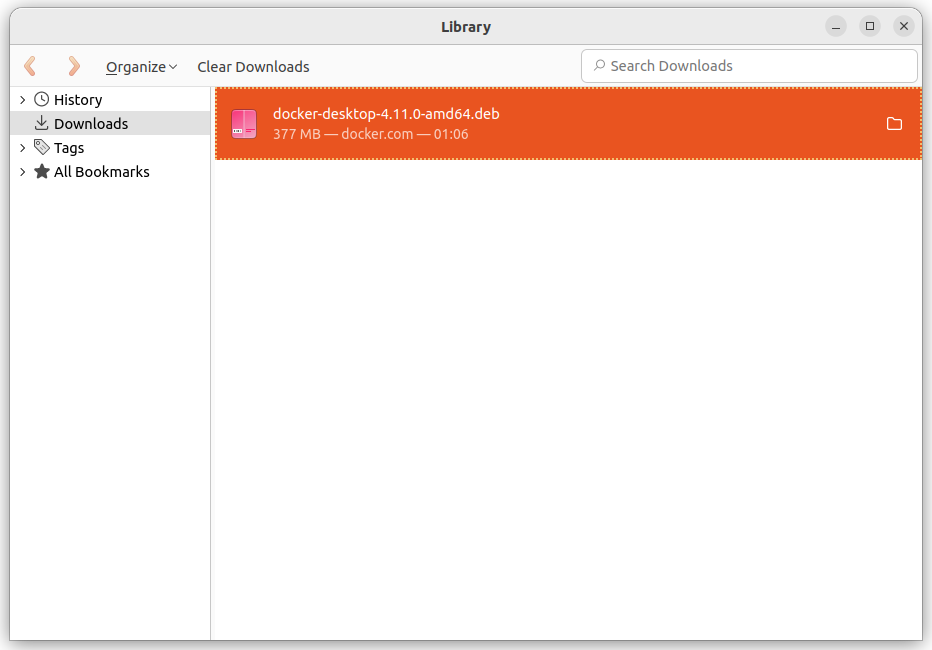
Jump over to this link and download the DEB package by clicking the link provided on the page. I am not intentionally pasting this direct down link here is because, future readers may not find anything here, since the external site has updated the link. Once downloaded you will see the .deb package in the folder where you downloaded the file (default is Downloads folder).

Downloads in Firefox Library
files in the Downloads folder

Open that folder in terminal and execute the following command.

$ sudo apt install ./docker-desktop-<version>-<arch>.deb

Above command will take a few seconds to setup the docker desktop. You have successfully installed the Docker Desktop now. Before you run the application go ahead and restart the machine. Once the machine is restarted navigate to terminal and execute the following command.

$ systemctl --user start docker-desktop

Or you can find the docker Desktop application in your applications list, just click to open the same.

Docker Desktop Service Agreement Screen

That’s all folks, you have docker desktop running happily on your ubuntu machine. In case you have any questions, please don’t hesitate to put them in the comments. I will be happy to answer them all as soon as possible.

Thanks for reading!

How To: Install Ubuntu in VMWare Player

Install Ubuntu in VMWare Player

When someone is looking for a development or test environment where he don’t want to disturb his current setup by installing the additional software, the virtualization is the best thing, which comes in his mind. There are many virtualization platforms out there in the market like VMWare and Hyper-V etc. I use the VMWare extensively for my development environments, like PHP Development Environment or the SharePoint Development Environment.

In case you, are interested in similar sort of setup, all you need is to buy the VMWare Workstation (I personally recommend, get it from here) or use one of the many free / opensource virtualization platforms like VirtualBox. Here with this post I am demonstrating the setup of the Ubuntu (Download Ubuntu) Linux as guest OS in VMWare Player (it will be similar for the VMWare Workstation). You can follow the below video see the setup instructions.

As it is shown in the video above the installation steps are very much similar to the one which anybody will follow, while installing any OS in physical machine. The only thing which you need to learn is what should be the configuration of the Virtual Machine you are creating. There are people out there who use this kind of virtualization to even run a full fledged development environment. This helps them separate out there development environment with the general use environment, keeping there host machine neat and clean. One more benefit, as identified by many people is that you can easily migrate one environment from one machine to another machine with all its configurations.

Hope you will enjoy your virtual environment whether it is for development or testing or whatever purpose it solves for you.

How To: Quickly Create Multiple VMs in VMWare Workstation

Quickly Create Multiple VMs in VMWare Workstation

Recently, I got a requirement to create an environment for a proof of concept up and running very quickly. I was required to create a setup which contained around 9 VMs running Ubuntu Linux OS. As it was a setup which was not concerning about the performance of the individual machines, but to demonstrate a network infrastructure and the system connectivity layout. So, you may ask what is the problem then … go and create. But there was not a single problem:

  1. The problem was that to get 9 machines all together in a short period of time was difficult.
  2. The requirement was for a short span of time, just to demonstrate the infrastructure.
  3. Creating the multiple machines of same configuration is a bit time consuming task, where we were already running out of time.

the solution was to use a virtualization platform like, Hyper-V VMWare etc. We picked VMWare Workstation as the platform for the virtualization. Now if we get one machine with enough power to run the virtualization and host these many machines, we can get it all running quickly. We identified a file server with a minimal utilization of RAM and Processor and decided to use it. Though the issues standing in front of us were getting fainted, but there was another issue. the file server we identified was at its peak of the Disc Space consumption. So to host 9 VMs say size of 10GB  each (Ubuntu base installation with all updated requires much lesser then that, around 6 – 7 GB and with 2 GB of RAM each), we required about 23 more GBs in the server. To free up that space we needed time to identify the unnecessary files which we didn’t had (we had already spent half day to reach to this position).

So the next thing was to somehow reduce the number of GBs required to create a VM was the only solution left. how we do that. Here comes the trickiest part in to the picture.

  1. Created a virtual machine with the base installation of the required OS with all patches and updates. (if you are interested in learning how to install a Ubuntu OS in VMWare you can follow this post). Here is the configuration of the base VM:
    • 10GB Virtual HDD
    • 2 GB RAM
    • NAT Connection
  2. Once the VM was ready, we switched off the VM and took a snapshot of the VM.
    W
    hat happens when we take the snapshot of the VM, it creates a differential file of the Virtual HDD (there are many other things it does, but we are interested only in this) leaving the original file as it is.
  3. In Microsoft windows there is a feature of creating the symbolic links of the files and folder. you can use this links files as you are using the original files and the modifications to the contents of the link will effect the contents of the original file.
    We used hard links to create 8 more replicas of the HDD from the first base VM. Here is the command which you should execute with the administrator privileges:

    mklink /h <target_file_name_with_path> <source_file_name_with_path>
  4. Once the copies of the HDDs were available we just need to create new VMs using these existing HDDs and take a snapshot immediately, before power up.
    Note: If you forget the snapshot part of the copy, before powering up any VM for the first time you may end up wasting all of your efforts.

If you carefully, follow the above steps you will be able to run all the VMs in parallel with a single HDD (individual differential files), making it use the minimal space required on the host and wasting the time in copy paste of the VM in whole (around 7 GB).

Using this setup, we were able to fit all the VMs in about 30GB while running in place of 90GB of initial requirement. I hope this technique will be helpful some day to someone. Please leave your comments below in case you find this helpful.

Follow me :

youtubefacebooktwittergoogleplus

Virtualization In Software Development

Virtualization’s big push to fame was arguably kick-started by VMware’s Workstation product, which allowed individual users to run a bunch of OSes, versions or instances (similar to multiple application windows) instead of having a one-at-a-time multi-boot environment. In many companies, virtualization arrived with developers first using the technology quietly to do testing and development, then introducing the virtualization tools to IT higher-ups.

While today, computer virtualization fuels many production environments, e.g., servers, desktop infrastructures, and as a provisioning tool, virtualization is also used by a still-growing number of software developers. For starters, they use virtualization tools to provide a range of target environments for development and testing (such as different operating systems, OS versions and browsers), and also to provision/re-provision configuration instances quickly and easily.

Here’s a look at how and why some of today’s developers are using virtualization and what their quibbles are with the technology as it stands.

Provisioning Multiple Test Environments

Mark Friedman, a senior software architect, works in Microsoft’s Developer Division, where upwards of 3,000 people create Visual Studio and the .NET Framework. Friedman himself works mainly on the performance tools that ship with Microsoft’s Visual Studio Team System. “About two-thirds of the people in my division are in development and testing — and most of these developers and testers are using system virtualization (via Microsoft’s Hyper-V technology) as one of their key productivity tools,” says Friedman, who is also a board director of The Computer Measurement Group.